
A Guide for Digital Infrared (IR) Photography
Here I want to share my experiences with IR photography and how I use this technique to create outstanding black & white or IR-color images.
After having shot black & white with the help of ND-filters (neutral density filter) for a few years now I was searching for new types and found my way into IR photography.
What is Infrared Photography?
Infrared photography is exactly the same photography as you all know it but shifted to a longer wavelength range. That means you are not capturing the human visable range of light or at least not the full range, depending on the IR filter and camera you use. All digital camera sensors are sensitive in a wider spectral range compared to our eyes. As modern camera sensors tend to see light from the ultraviolet to the infrared they are spectrally restricted by a band-pass filter attached to the sensor to match human vision.
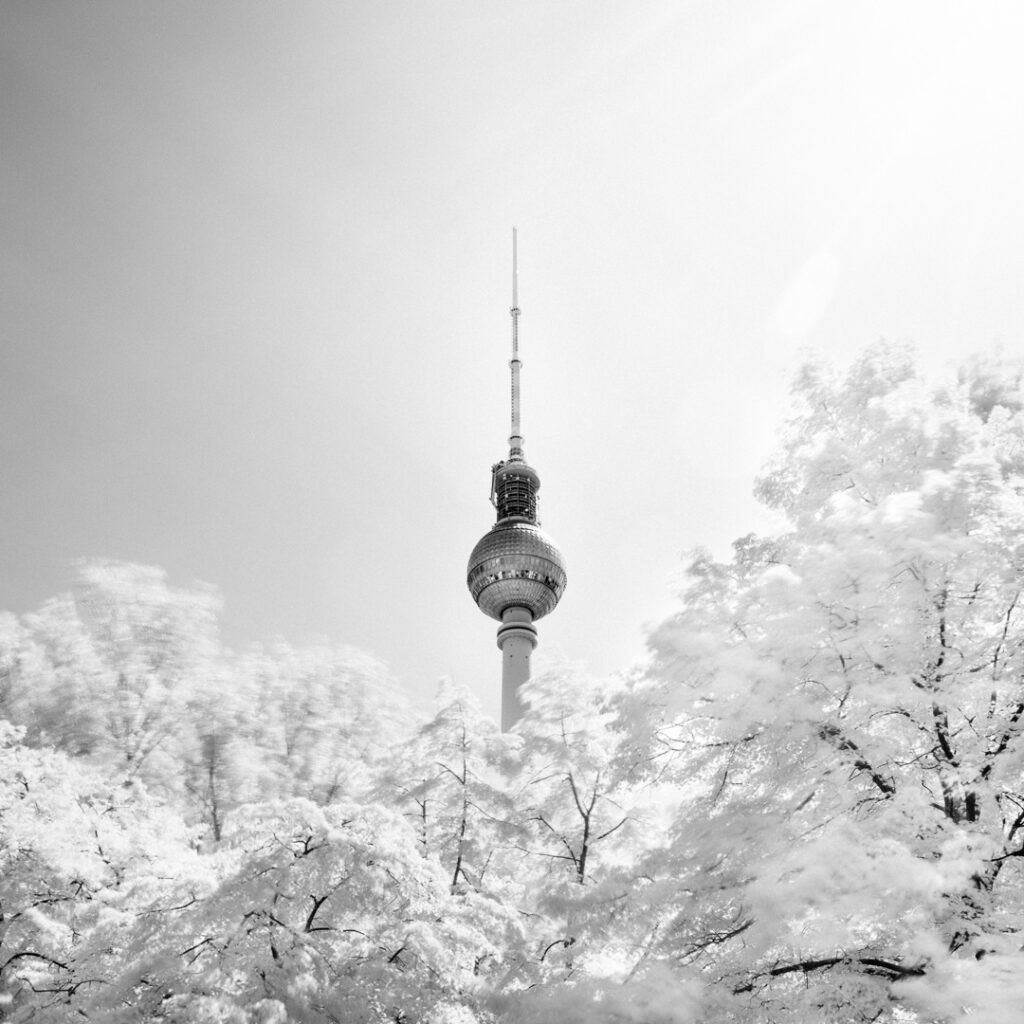
A speciallity of IR photography is the Wood effect, named after American physicist Robert Williams Wood, who described the strong reflection of IR light caused by foliage (such as tree leaves and grass) in the same way visible light is reflected from snow. This often causes a dreamlike winter atmosphere in IR photographs.

When is the best time for IR photography?
Sunny days with lots of direct sun light are perfect for IR photography. The best time is around noon which contradicts the usual suggestion of most landscape photographers taking shots in the early morning or late afternoon to capture that warm indirect light. With infrared it is different and you don’t have to worry the harsh lights and shadows while shooting at noon.
What equipment do you need?
All you need is a DSLR or mirrorless camera that can be used in Bulb Mode which means exposure times longer than 30 seconds. Then you need a sturdy tripod, a remote control and an IR filter for your lens. I use a Hoya R72 filter that transmitts light above 720 Nanometer (nm) wavelength, so the visible light ( around 400nm – 700nm) is blocked.
My actual gear:- Sony Alpha 7RII + Sigma MC-11 adapter + Canon EF 16-35 F4 L IS
- Sirui AM-284 tripod + A-10R ball head
- Ayex AX-5 remote control
- Hoya R72 IR filter (77mm)
What about camera conversion?
You will find a bunch of camera conversion tutorials in the web if you need a point-and-shoot IR or full spectral range camera. For me the beauty of a non-converted camera is the time you put in one single image, in the spot you shoot and in the composition.
Without a converted camera your setup will act as a combination of IR and long-exposure photography. That means your exposure times are around 120 seconds or even more.
Its important that the spectrum seen by a non-converted camera will be a mix of the IR pass filter you put on your lens and the IR block filter glued on your sensor. Every sensor acts different and lenses do as well because they are made for the visual range and not for IR.
Camera settings
My typical camera settings are: ISO 100, f-stop of 8.0 – 16 (depending on the amount of light and the depth of field), exposure time as needed (typical 120-240 seconds).
The f-stop affects the sharpness of the image, the depth of field and the vignetting. From this perspective every lens has a sweet spot where these three characteristics are optimal, so it is crucial that you know your lens and filter combination . For example my often used Canon 16-35 mm lens works best at around f/11.
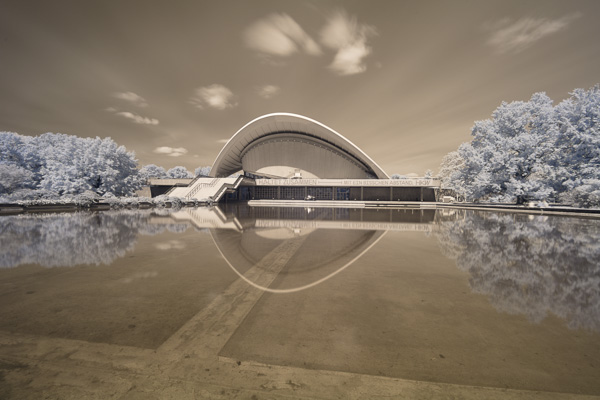
The following example was shot at 16mm, f/11 and 176 seconds exposure time.
How I process my IR images – from RAW to final
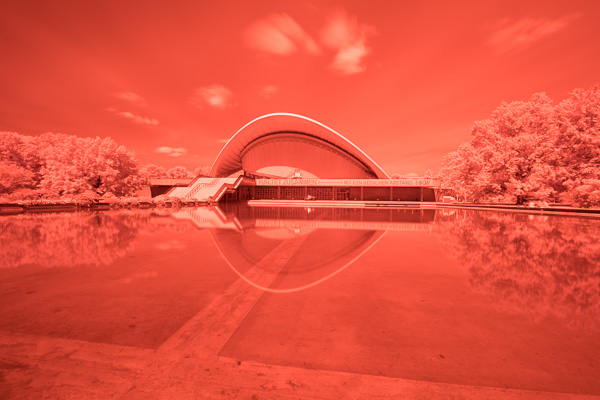
The RAW file out of the camera looks like this. It is comletely red with no other colors. If you try to change the white balance in Lightroom you will see that its not possible without further adjustments.
1. Correct White Balance
For a correct white balance in Lightroom you need a custom Camera Calibration Profile. This can be done with the Adobe DNG Profile Editor. Make shure you have a .dng file converted from your original raw format (Adobe DNG Converter). Open a raw image in the Profile Editor, then go to Color Matrices and set the White Balance Calibration to -90.
Save the new Profile to Lightroom Camera Profile folder:
C:\Users\”username”\AppData\Roaming\Adobe\CameraRaw\CameraProfiles\IR.dcpr
This folder may vary on your machine. After restarting Lightroom you should see this profile in the Camera Calibration on the right. Choose the new profile and try a white balancing like this:
From here you can export to Photoshop and continue your work.
If you are using tools like Affinity Photo, RAW Therapee or others it might be possible to set the right white point straight away.
Now you can decide for a direct black & white conversion or continue the next steps for a false color image.
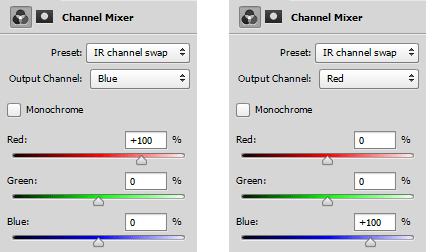
2. Red – Blue channel swap
To get a blue sky and the typical yellowish leaves you have to do a color channel swap with the Channel Mixer.
Blue channel: +100 Red and 0 Blue, Red channel: 0 Red and +100 Blue
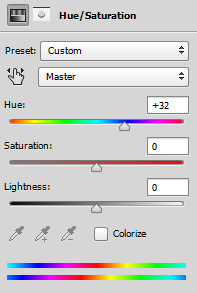
3. Color correction
Create a new Hue/Saturation adjustment layer and shift the color tone to around +32. Now your IR false color image should look like the one below.
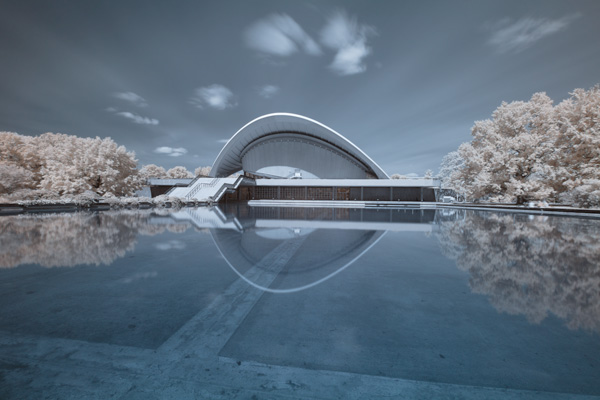
The next steps are adjustments on the colors and contrast according your taste. As you may have noticed, I made a few more edits to get rid of the car in the center and the barely visible text banner.
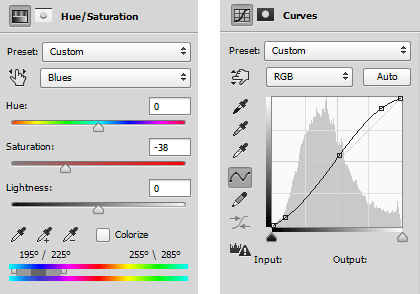
4. Final adjustments
I prefer a slightly less saturated look and reduce the blue tones a bit with a Hue/Saturation adjustment layer. With a Curves adjustment layer I increase the contrast by creating an S-curve.
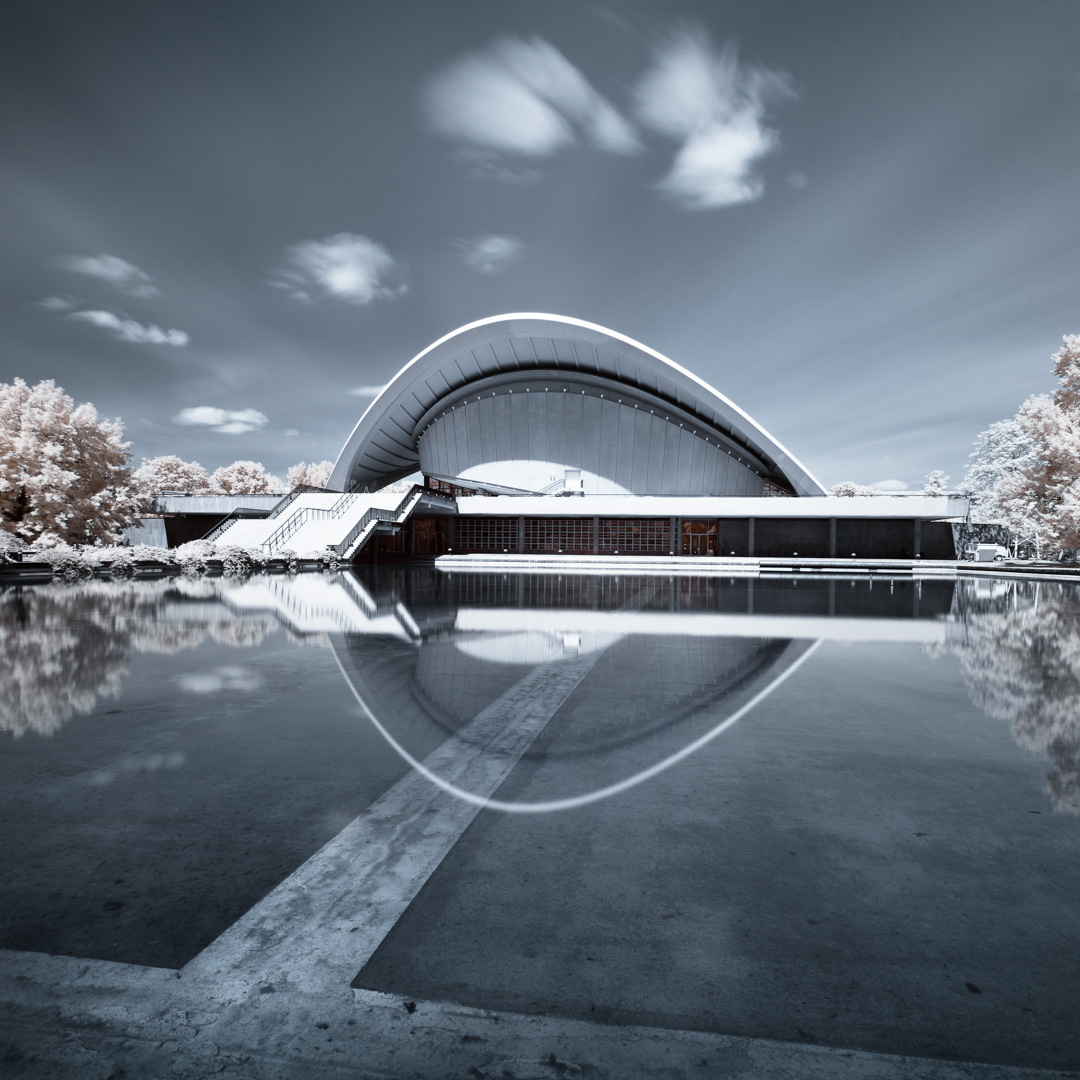
Finally to bring out some details I did a bit of doging and burning. I cropped the image in a square format, which I had intended when I took the shot.
I hope this short insight into IR photography gets a few of you motivated to dig deeper into the spectral range outside the comfort zone of the visible light.